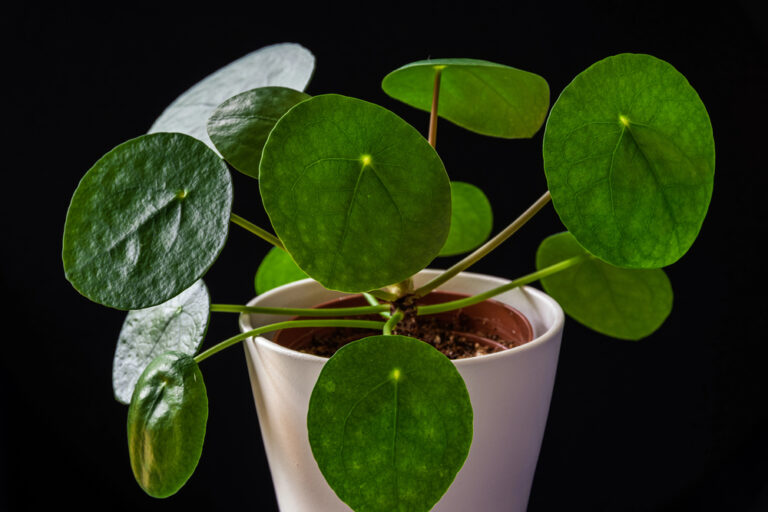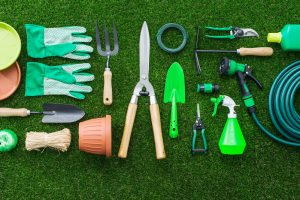
Gardening tools are the foundation of productive planting, soil preparation, pruning, and garden care, and they shape the joy and success you experience outdoors. This introduction prepares you to understand why these essentials matter, how to choose them wisely, and what role each one plays in helping plants thrive. Whether you grow vegetables, flowers, or houseplants, knowing the strengths of each item ensures you can work efficiently and protect both your plants and your body from strain.
Every gardener starts with curiosity, but the right tools transform that curiosity into confidence and visible results. Instead of improvising or struggling with inadequate equipment, you can rely on tools designed specifically to support growth, aeration, watering, harvesting, and protection of your delicate green companions. With the following breakdown, you will gain the knowledge needed to begin or improve your gardening journey while staying motivated and supported by reliable equipment.
1 – Hand Trowel
Gardening tools such as the hand trowel are indispensable for planting small seedlings, scooping soil, and transferring bulbs or compost. This compact tool allows you to perform precise digging in confined spaces like containers or raised beds without disturbing surrounding roots. A well-designed trowel with a sturdy stainless-steel blade and comfortable grip saves time and reduces hand fatigue.
Beyond digging, the trowel assists with mixing amendments into soil, removing weeds by the root, and dividing plants. Its portability and versatility make it one of the first pieces to purchase when assembling your garden kit.
2 – Pruning Shears
Some gardening tools specialize in maintaining the health and shape of your plants, and pruning shears are the go-to option for trimming stems, cutting back overgrowth, and removing spent blossoms. Sharp bypass blades prevent plant damage by ensuring clean cuts that heal quickly.
Regular pruning promotes fuller growth and helps airflow around leaves, reducing disease risk. Since overgrown plants compete for light and space, keeping shears nearby ensures your garden stays neat, productive, and vibrant.
3 – Garden Hoe
Among gardening tools, the traditional garden hoe is valued for its ability to break up soil, remove weeds, and shape furrows for planting. Its long handle reduces bending, supporting safer posture as you work larger garden plots.
By loosening compacted earth, the hoe creates pathways for water infiltration and root expansion. It also allows gardeners to cultivate efficiently over wide areas, making it a smart investment for anyone with in-ground beds.
4 – Garden Gloves
Durable gloves are gardening tools that protect your hands from thorns, blisters, sharp debris, and soil-borne irritants. A comfortable fit with breathable material encourages you to wear them consistently while keeping dexterity for precision tasks.
Good gloves also support hygiene, preventing cracked skin and keeping nails clean after digging. Whether handling compost, weeding, or harvesting, gloves bring safety and confidence to every task.
5 – Watering Can
This set of gardening tools would be incomplete without a watering can, which gives you gentle, controlled hydration for delicate seedlings, container plants, and indoor pots. A removable rose spout helps you adjust water flow depending on the age and fragility of your plants.
Unlike a forceful hose stream, the watering can prevents soil displacement and nutrient runoff while ensuring roots receive consistent moisture. It also encourages attentive observation of each plant’s hydration needs.
6 – Garden Fork
Many gardening tools loosen soil, but the garden fork excels at aeration in dense, clay-heavy ground. Its strong tines penetrate deeply, improving drainage and allowing roots to breathe more freely. This reduces compaction without damaging established root systems.
The fork also assists in turning compost, lifting root vegetables, and clearing rocky terrain. Its durability makes it one of the most valuable tools for long-term soil improvement.
7 – Rake
Gardening tools designed to tidy spaces include the rake, which sweeps away leaves, smooths soil, and levels mulch after planting. Its wide reach speeds up cleanup and creates a tidy, uniform surface.
Clearing debris also reduces hiding spots for pests and encourages healthier garden beds. By controlling the thickness of mulch and topsoil, rakes contribute to water distribution and weed management.
8 – Garden Knife
This category of gardening tools includes the garden knife, a versatile instrument used for cutting roots, opening bags, dividing perennials, and edging planting areas. Many gardeners choose a hori-hori knife because of its serrated edge and depth markings.
Its compact nature and multifunctional design allow quick adjustments while working, eliminating the need to carry multiple sharp tools. The knife’s precision supports both planting and harvesting activities.
9 – Wheelbarrow
Heavy-duty gardening tools like the wheelbarrow help transport soil, mulch, pots, and debris without lifting excess weight. Its balanced design allows you to push loads smoothly across different surfaces, reducing strain on your back and shoulders.
The wheelbarrow also makes large seasonal projects more manageable, whether rearranging beds, moving compost, or hauling waste to a disposal area. Its practicality becomes evident the moment your garden expands.
10 – Spray Nozzle or Garden Hose
Water delivery gardening tools such as a hose with an adjustable spray nozzle allow coverage of wide areas while saving time and effort. Multiple spray patterns give you control, from gentle misting for flowers to concentrated pressure for cleaning tools or walkways.
This adaptability helps plants receive the right amount of moisture while minimizing waste. With proper storage and care, a hose becomes one of the longest-lasting tools in any outdoor space.
Soil Testing Kit
Even though these gardening tools center mostly on physical work, a soil testing kit helps you understand what your plants need beneath the surface. By measuring pH and nutrient levels, you can choose appropriate fertilizers and amendments that match root requirements.
Knowing your soil’s condition saves time, money, and frustration because you no longer guess why certain plants struggle. It guides you toward healthier, more productive beds over time.
Kneeling Pad
Comfort-supporting gardening tools like a kneeling pad allow you to work close to the ground while protecting your knees from soreness, damp surfaces, and rocky soil. Cushioning encourages longer, more relaxed planting sessions.
By reducing strain, the kneeling pad helps you maintain proper posture and energy throughout your gardening day. This simple accessory preserves enjoyment and prevents discomfort from cutting your work short.
Conclusion
Gardening tools shape not only the health of your plants but also the comfort and effectiveness of the gardener using them. Starting with a reliable set encourages steady progress, keeps your workspace organized, and supports the satisfaction that comes from nurturing life in soil, pots, or raised beds. As your garden expands, additional items can be added to match your needs, but the essentials above will always form a trustworthy foundation for thriving outdoor spaces.
References
[1] https://www.sciencedirect.com/science/article/pii/S0304423822002433
[2] https://academic.oup.com/aob/article/130/5/685/7649172
[3] https://www.frontiersin.org/articles/10.3389/fpls.2021.753384/full