Starting a garden can be an exciting and rewarding endeavor, and it all begins with the germination of seeds. Whether you are a novice gardener or an experienced green thumb, understanding the basics of how to properly germinate seeds is crucial for ensuring a healthy and vibrant garden. This guide provides step-by-step instructions and tips to help you get your seeds off to a great start.
What is Seed Germination?
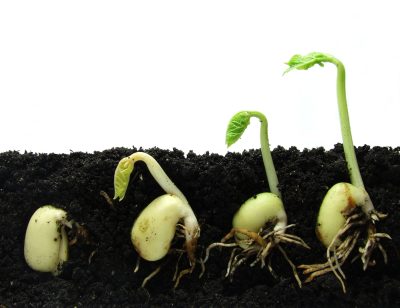
Seed germination is the process by which a seed develops into a new plant. This vital growth process involves the seed sprouting and forming its initial roots and leaves, which will eventually develop into a full-grown plant. Germination is the first step in the life cycle of many plants, and doing it correctly can greatly affect the health and yield of your garden.
Selecting Quality Seeds
Before you begin the germination process, selecting high-quality seeds is essential. Purchase seeds from a reputable supplier to ensure they are genetically pure, free of disease, and have a high germination rate. Check the packaging for information about the seed variety, planting instructions, and expiration date. Older seeds may have lower germination rates, so it’s best to use fresh seeds.
Preparing for Germination
Different seeds require different conditions to germinate. Most seeds will need proper soil, warmth, and moisture to start growing.
- Soil Preparation: Use a light, porous seed starting mix that allows for good drainage and air circulation. Avoid using garden soil as it can be too heavy and may contain disease organisms detrimental to seedlings.
- Moisture: Seeds need consistent moisture to germinate successfully. Keep the soil moist but not waterlogged, as too much water can cause seeds to rot. Using a spray bottle to lightly mist the soil can be an effective way to manage moisture levels.
- Temperature: Most seeds germinate best at temperatures between 65-75°F (18-24°C). Placing seed trays in a warm area or using a heat mat can help maintain optimal temperatures.
The Germination Process
Once you have prepared your seeds and growing medium, you can begin the germination process.
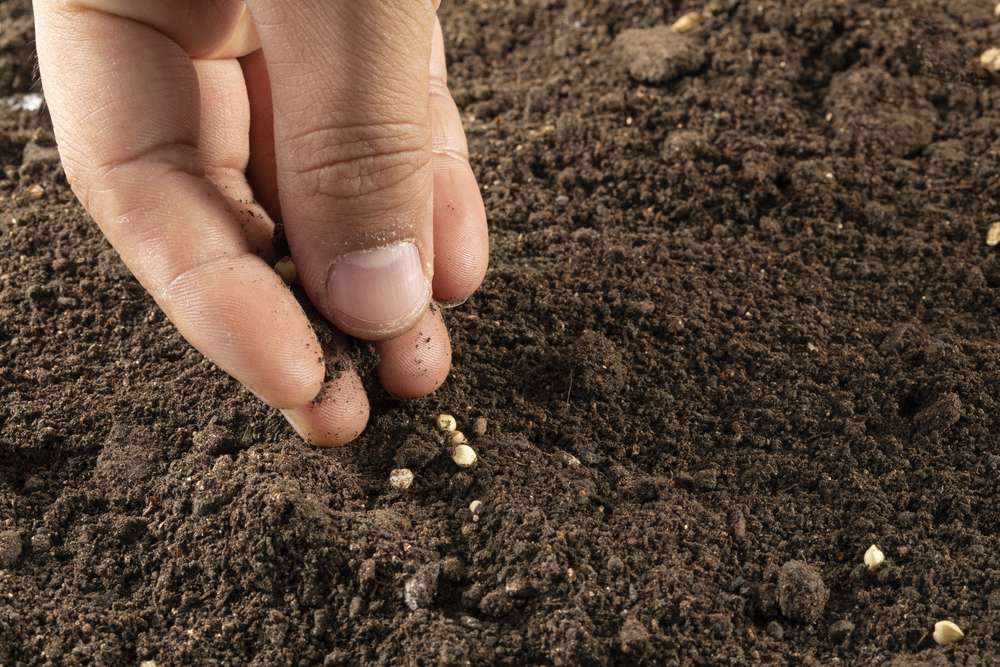
- Sowing Seeds: Plant seeds at the depth recommended on their packet, which is usually about twice the size of the seed itself. Cover lightly with soil or simply press them into the surface, depending on the seed type.
- Light: Some seeds require light to germinate, while others germinate best in the dark. Refer to the seed packet for specific instructions. For seeds that need light, placing the seed tray in a bright location or under grow lights can help.
- Monitoring: Keep the soil consistently moist and check daily for signs of growth. The first sign of germination is typically the appearance of the seedling’s sprout, or radicle, which will become the primary root.
Post-Germination Care
After your seeds have sprouted, proper care is essential to nurture the young seedlings.
- Thinning: If multiple seedlings emerge close together, thin them out by removing weaker seedlings. This ensures that the remaining seedlings have enough space and resources to develop.
- Watering: Transition from misting to gently watering the soil to keep it moist as the seedlings grow. Avoid overwatering, which can lead to fungal diseases.
- Fertilizing: Once seedlings have a few sets of true leaves, you can begin to apply a light fertilizer to promote growth. Use a balanced, water-soluble fertilizer at half the strength recommended on the label.
- Hardening Off: Before transplanting seedlings outdoors, they need to be acclimatized to outside conditions. Start by placing them outside for a few hours each day, gradually increasing their exposure to outdoor temperatures and sunlight over a week or two.
Germinating seeds is a foundational gardening skill that can greatly influence your garden’s success. By following these detailed steps and tips, you can improve the vitality and productivity of your plants. With patience and care, you’ll be able to enjoy the fruits of your labor and the beauty of a thriving garden.

